How to Incorporate a Photo Booth into Your Wedding Timeline
A photo booth is a fun and interactive addition to any wedding, but timing is everything when it comes to maximizing guest participation and enjoyment. Knowing when to open and close the booth, as well as how to weave it into your wedding day schedule, ensures that it becomes a highlight of your celebration. Here are some tips for seamlessly incorporating a photo booth into your wedding timeline.
1. Set Up Before the Event Begins
Ensure the booth is ready to go before guests arrive at the venue. This eliminates any distractions during the ceremony and allows for smooth transitions into the reception.
Best Practices:
- Schedule setup during venue preparation, typically 1-2 hours before the event starts.
- Conduct a test run to ensure lighting, props, and technical features are working perfectly.
2. Open During Cocktail Hour
Cocktail hour is an ideal time to introduce the photo booth. While you’re busy taking formal photos or catching a breather, guests can enjoy snapping fun pictures with friends and family.
Why It Works:
- Keeps guests entertained while they wait for the reception to begin.
- Encourages mingling and interaction among attendees.
3. Highlight During Reception Lulls
There are natural pauses in the reception, such as between meal courses or after the formal dances. These moments are perfect for encouraging guests to visit the photo booth.
Best Times to Feature the Booth:
- After dinner, when guests are relaxed and in the mood for fun.
- During transitions between speeches or performances.
4. Create a Closing Highlight
End the night on a high note by making the photo booth part of your grand exit or final farewell. Announce a last call for photos to ensure everyone has a chance to participate.
Final Touches:
- Offer a special closing prop set or themed backdrop for the final hour.
- Use the booth to capture candid shots of your send-off moment.
5. Keep It Open During Peak Party Hours
The dance floor isn’t for everyone, so having the booth available during peak party times provides an alternative entertainment option. Guests can flow between the dance floor and the booth without missing out on the fun.
Tips for High Participation:
- Place the booth near the bar or dance floor to attract more guests.
- Announce periodic reminders to visit the booth throughout the night.
Bonus Tips for Timeline Success
- Assign an Attendant:strong> Having a dedicated photo booth attendant ensures everything runs smoothly and encourages participation.
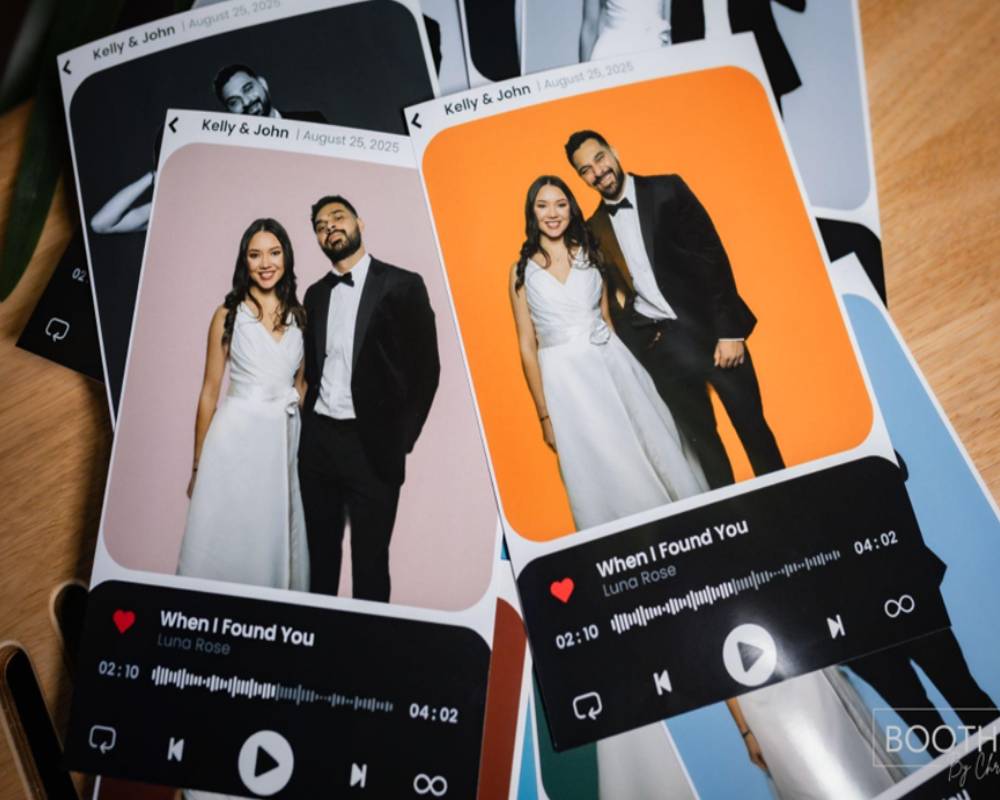
- Set Up a Guestbook Station:strong> Encourage guests to leave a copy of their photo strip and a message for you.
- Incorporate Props for Specific Times:strong> Rotate props or backdrops to keep the booth fresh and engaging throughout the event.
Sample Timeline
- 1:00 PM – strong> Venue setup begins (photo booth included).
- 5:00 PM – strong> Booth opens during cocktail hour.
- 6:30 PM –strong> Booth remains open as guests transition to the reception.
- 8:00 PM –strong> Highlight booth during post-dinner lull.
- 0:00 PM –strong> 1 Announce a last call for photos.
- 10:30 PM –strong> Booth closes as the event winds down.
1:00 PM – Venue setup begins (photo booth included). 5:00 PM – Booth opens during cocktail hour. 6:30 PM – Booth remains open as guests transition to the reception. 8:00 PM – Highlight booth during post-dinner lull. 10:00 PM – Announce a last call for photos. 10:30 PM – Booth closes as the event winds down.
Final Thoughts
Incorporating a photo booth into your wedding timeline is all about balance and strategy. By choosing the right moments to open and close the booth, you’ll create opportunities for maximum guest participation while ensuring it complements the flow of your big day.
Ready to make your wedding photo booth a seamless part of your celebration? Contact us today to explore our customizable options!
‹ Back


